

How to Rewax a Jacket: Step-by-Step Guide to Restore Your Wax Coat
Has your wax jacket lost its water resistance and started absorbing rain instead of repelling it? Over time, the original wax coating wears down, leaving your jacket looking faded and struggling to keep out the damp.
Fortunately, replacing the jacket is not usually necessary. Rewaxing your jacket at home is a simple way to restore that water-repellent barrier and get your gear looking and performing like new again.
This guide shows you how to clean, rewax, and maintain your jacket so it stays weatherproof, practical, and ready for the field.
How to Rewax a Jacket: A Quick Answer
You can rewax your jacket effectively by following these steps:
- Choose a space with ample natural light.
- Melt your wax tin in a bowl of hot water.
- Rub the wax into the coat in small, deliberate circles.
- Focus heavily on stress points such as seams, cuffs, and elbows.
- Use a hairdryer to melt the wax deep into the fibres.
- Let the jacket sit and cure for a full day in a cool, ventilated room.
- Check for dry patches.
- Touch up any spots you missed to finish the seal.
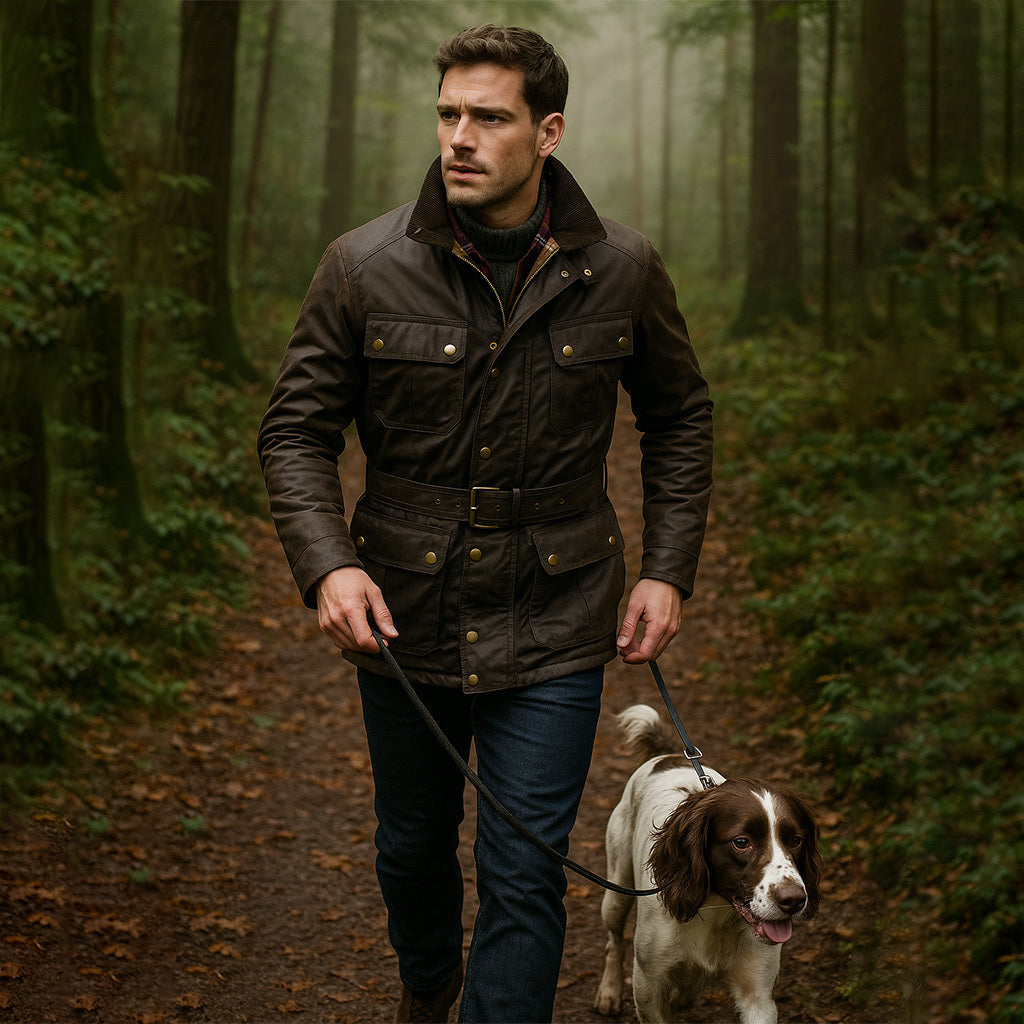
What Is a Waxed Jacket and Why Does It Need Rewaxing?

A wax jacket is a durable cotton garment coated with a paraffin- or beeswax-based finish to repel water and protect the fabric from rain, wind, and damp conditions.
It’s a staple for shooters, farmers, and countryside workers because it offers a practical balance of breathability, durability, and weather protection.
A wax jacket depends on its wax coating to remain water-resistant. Once that protective layer wears away, the cotton begins to absorb moisture instead of repelling it. Over time, repeated exposure to damp conditions can weaken the fabric and lead to deterioration.
Keeping the wax topped up is essential maintenance. It keeps the fabric flexible, stops it from cracking, and maintains the classic look that only gets better the more you wear it.
Beyond just keeping you dry, a fresh coat of wax is purely practical. It means you can simply wipe mud and grit off with a cloth instead of letting it soak in, and it helps the fabric remain wind-resistant in cold and blustery conditions.
How to Tell When Your Wax Jacket Needs Rewaxing
You don’t need a manual to know when it’s time to rewax; the jacket will tell you itself. Watch for these signs:
- Water stops beading on the surface
- The fabric feels dry and papery to the touch
- Faded, light-coloured lines show up at the creases
- The coat looks dull, matte, or washed out
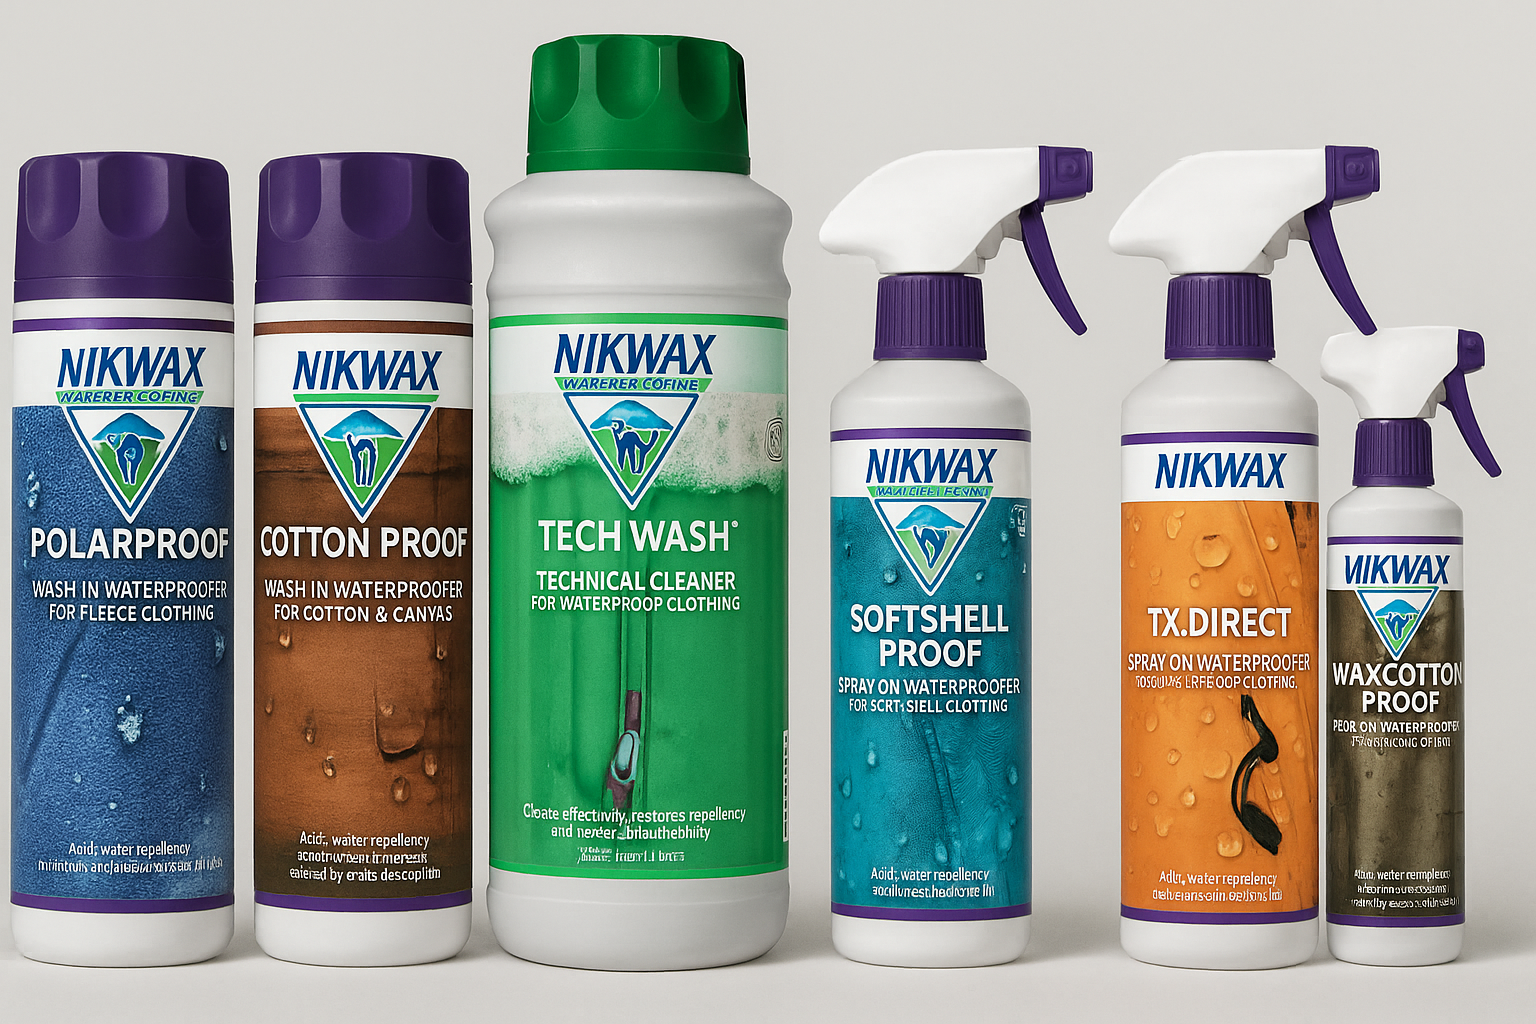
What You'll Need Before Rewaxing a Jacket
Before you get started, gather the basics so you don't have to hunt for them while you're working. You'll need the following kit:
- A tin of suitable reproofing wax (try to use the brand recommended for your jacket)
- A clean, lint-free cloth or a dedicated wax sponge
- A hairdryer to melt the wax into the weave
- Old newspapers or a plastic sheet to protect your workspace
- A sturdy hanger for the curing process
How to Clean a Wax Jacket Before Rewaxing

Rewaxing should always begin with a clean jacket. Sealing mud and grit beneath a fresh wax layer can trap rough particles against the fabric, causing unnecessary wear over time.
Follow these steps to clean a jacket before rewaxing:
- Brush Off the Loose Dirt: Take the jacket outside and use a soft or medium-bristled dry brush to knock off any dried mud, paying extra attention to the cuffs and hem.
- Wipe with Cold Water: Use a clean sponge and plain cold water to wipe down the exterior.
- Skip the Soap: Do not use a detergent or soap. It strips away the wax you’re trying to save and leaves a film that keeps the new stuff from soaking in properly.
- Check the Hidden Spots: Don’t forget the folds under the arms, pocket edges, and cuffs, where sweat, salt, and grime often collect. That’s where sweat and salt build up over time.
- Air Dry Naturally: Hang the jacket and let it dry on its own. Don’t throw it in the dryer or hang it near a heater, as it can damage the fabric.
How to Rewax a Jacket: Step-by-Step
Once the jacket is clean and completely dry, the rewaxing process can begin. You can apply a fresh coat of wax to help restore water resistance and protect the fabric from moisture. Follow these steps to apply the wax evenly and achieve the best results.
1. Choose a Well-Lit Area
Start by laying the jacket flat on your protected table with a good amount of light. If you can’t see clearly, you’ll end up with uneven coverage.
2. Warm the Wax
Next, drop your tin of wax into a bowl of hot water. When it gets a soft, buttery consistency, you’re ready to start.
3. Apply the Wax
Now, use a cloth or sponge to apply the wax to the cotton using small, circular motions. Don’t pile it on; apply it sparingly for an even finish.
4. Hit the Trouble Spots
Pay particular attention to high-wear areas, as these parts of the jacket experience the most friction and typically lose their wax coating first:
- Shoulders
- Elbows
- Cuffs
- Pocket edges
- Seams
5. Blend the Wax
Once applied, use your hands to blend that wax into the fibres. Keep rubbing until you no longer see any white streaks on the cloth.
6. Apply Heat
Now, run a hairdryer on low to medium heat across the jacket. You’ll see the wax melt into the material and the colour deepen as it soaks in. Keep the dryer moving so you don’t scorch the cotton.
7. Let It Cure
Afterwards, hang the coat in a cool, well-ventilated room for 24 hours so the wax can settle into the fibres. The wax needs this time to firm up and lock into the fibres.
8. Final Inspection
Finally, check for any dull patches you might have missed; if you find one, add a tiny bit more wax and give it another quick blast of heat.
How Often Should You Rewax a Jacket?

If you wear your jacket regularly in wet, muddy, or windy conditions, rewaxing once a year is usually a good idea. For lighter countryside use, every two years may be enough.
We recommend giving your gear a quick inspection before the start of the autumn season. If the water still beads up on the surface, you’re all set to go—if not, it’s time to pick up the wax.
Tips for Maintaining Your Waxed Jacket Between Rewaxing Sessions
You can significantly extend the life of your wax jacket by being careful with how you treat it on a day-to-day basis. Follow these simple habits:
- Proper Storage: Hang the jacket in a cool, dry place. Don’t use plastic garment bags, as they can trap moisture and encourage mould.
- Spot Cleaning: If you get a bit of mud on the sleeve, wait for it to dry and brush it off. If it needs water, use a cold, damp cloth and reapply a tiny bit of wax if needed.
- Drying After Rain: If you get soaked, hang the coat up away from radiators. Letting it dry slowly ensures the wax stays evenly distributed.
- Avoiding Heat Sources: Never leave your coat in a hot car or near a fireplace. Excessive heat will cause the wax to migrate or stain the lining.
- Regular Inspections: Check your seams and pocket edges regularly. Catching a dry spot early is much easier than doing a full strip and reproof.
Conclusion
Rewaxing your jacket is an investment in the gear that keeps you protected season after season. Although it takes a little time, following these simple steps saves you the cost and hassle of replacing a worn-out coat.
So, take that hour, give your wax jacket the refresh it deserves, and it will keep performing for you, year after year.
FAQs
Why does my jacket feel greasy or sticky after I rewax it?
You likely applied too much wax or didn't use enough heat to drive it into the cotton. Don’t worry, it’s an easy fix: just take your hairdryer, warm up the sticky spots, and use a clean rag to buff off the excess surface wax.
Can I wax a jacket myself, or should I use a professional service?
You can absolutely do it yourself. It’s a straightforward process that requires only basic tools and some patience. Professional services are worth considering if you’re short on time or nervous about damaging a jacket with sentimental value. For most field jackets, DIY is the standard approach.
Can I rewax a wax jacket in cold weather?
You can, but it’s much harder. The wax will harden quickly, making it difficult to spread evenly. If it’s cold, make sure you work in a warm room and keep your tin of wax in a bowl of warm water to keep it pliable.
Leave a comment